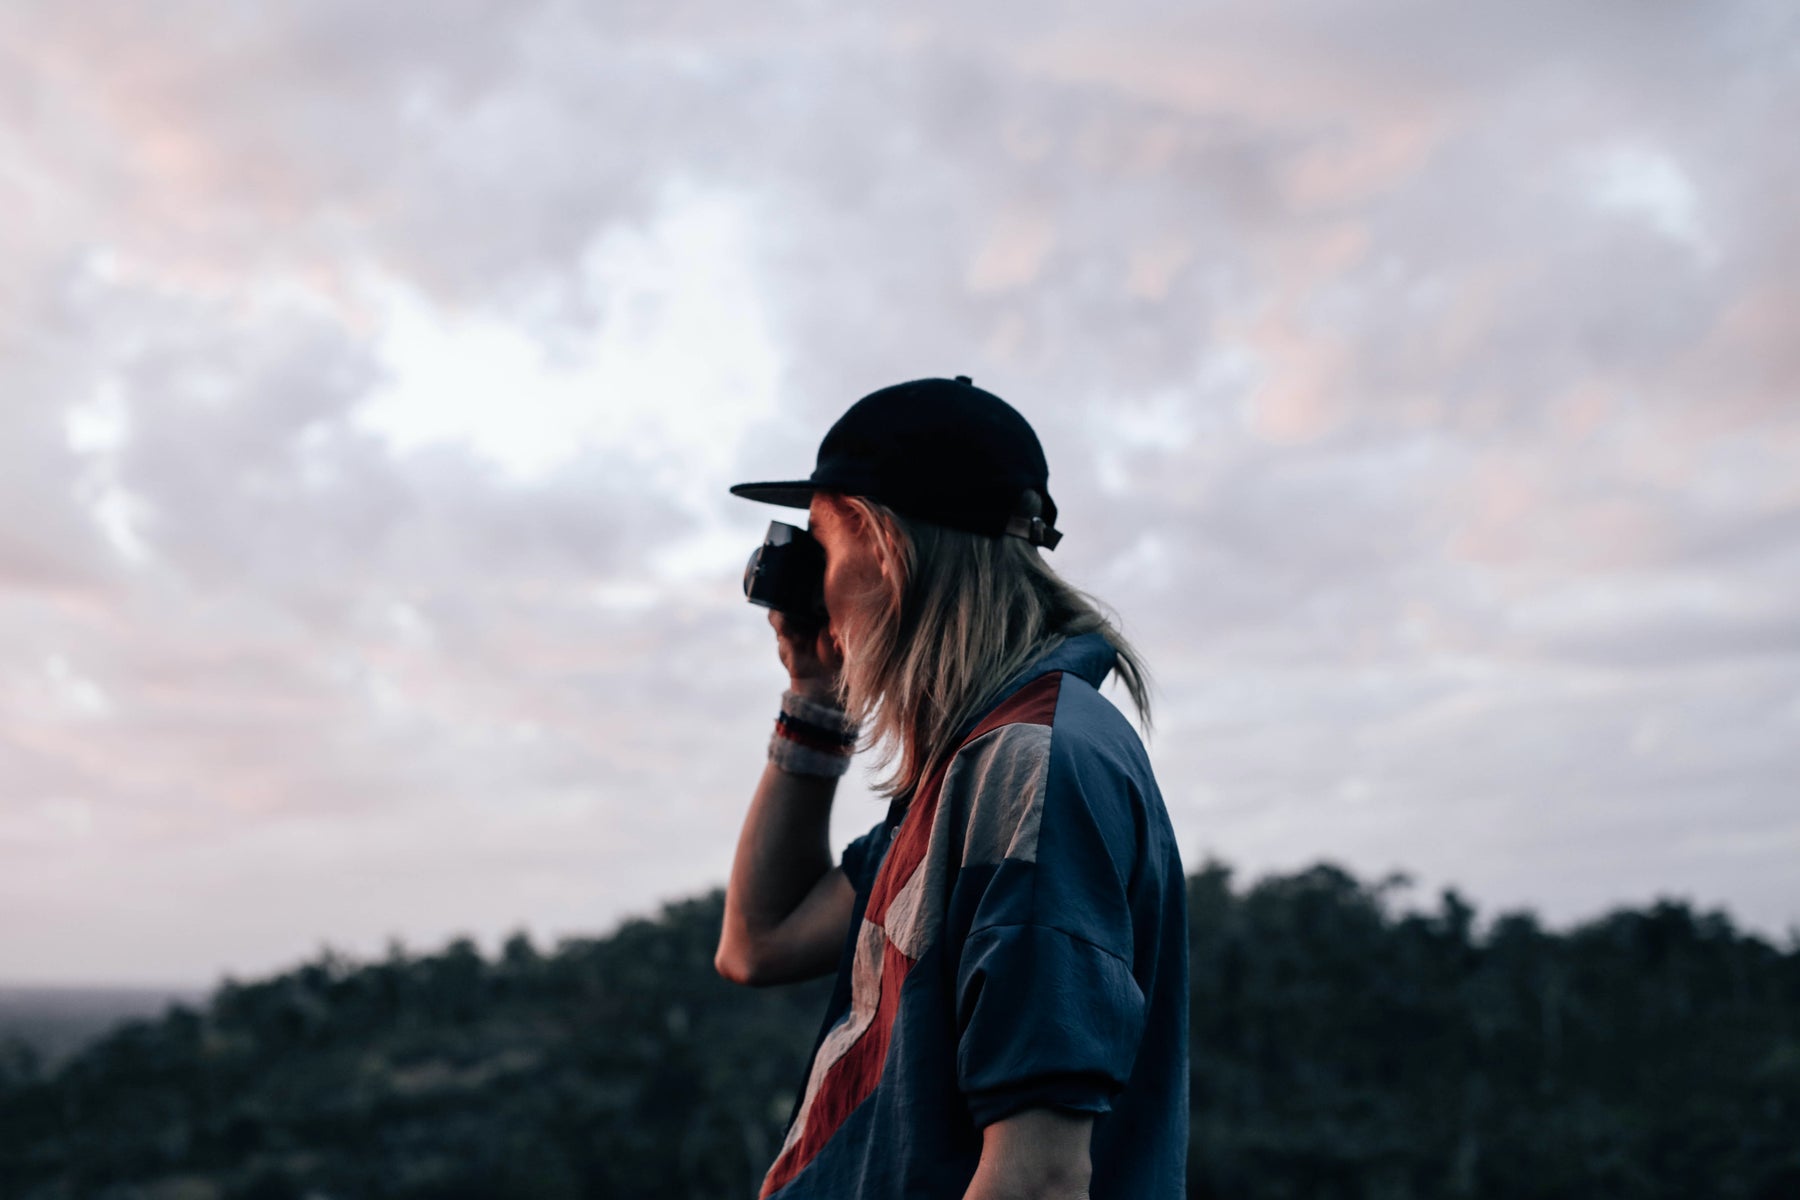
How to get the experience of shooting film with your digital camera
What does it take to have a film-like experience with your digital camera? Not a film-like image, but what about the experience of shooting with film? Film can give us a different sense of time and space in relation to making images. It takes more time to see the results of what you’ve done, while keeping you more focused on your subject during the shoot itself. With modern digital cameras it’s easy to spend time in menus and on screen graphs and while they are hugely useful they also present another interpreting layer between you and the subject.
This is an experiment to see what it does to your experience of shooting, not necessarily the result of your photography. The question is, can I get an experience that drives me towards simplicity while still using one of these flagship cameras with all of its bells and whistles?
And the answer is, absolutely! You just have to have a lot of self control.

Everything Set To “M”
I like to start by disabling all of the auto-focus, stabilization, bracketing, auto-exposure and any other feature that gets me further away from “press button to click shutter”. I want to remove as much computation as possible from the image that I’m getting and letting my camera do less work helps me learn more about what I truly value about it.

Don’t touch it.
One of the primary differences between roll film and memory cards is that once you've loaded a film roll into the camera, you’re not changing that roll until the whole thing is done. With memory cards you’re free to change settings each shot. A common theme you’ll see in this list is that you can always override what you’ve locked in, but there’s creativity and growth behind every wall and working with limitations will help you appreciate the automation and tools of the digital workflow that much more. Set it up and leave it alone.

JPEG
If I’m trying to get myself into the constraints of film I will shoot directly to JPEG. I love what RAW can do for me in editing but the point of setting up for Digital Film is to avoid the editing bay and trust in your shot. There’s more information in a RAW file for sure, and there’s more reasons than post-production to use the format. Keep in mind that all of these constraints are meant to help you get in the right headspace and train your eye, not to be the pinnacle of technical photography.

ISO
One of the largest constraints in moving from digital cameras to film is that for the next 24 or 36 shots, you’re going to be using the exact same ISO. I’ve got my ISO assigned to a wheel on my digital camera that has a locking button and I enjoy the challenges that come with it. I like a 200 and 400 setting since these are pretty common film stocks and I can compare my images to others in a similar sensitivity range. Let’s not forget though, it’s digital so if you want to shoot a roll of ISO 165000 film you can just turn that dial.

Black & White or Color?
Even more than ISO, locking in the color range of your images at the start will change the way you consider your composition. Shooting directly in monochrome will focus your eye on shadow and shape, the gradients between lights and the structure of your shot in a way that is very different from shooting in color. Making the choice of color or black and white before you start taking pictures will get you making different choices than choosing shots to show in monochrome after the fact.

One Roll At A Time
The exception to the “Don’t Touch It” advice. If you want to change your ISO or switch color profiles, do it only at the “end of the roll”. That means you finish up the last 5 shots to make it to 36. Make it count too, remember that film photographers hear the cash register ring at the same time as the shutter clicks and that’s one of many reasons it’s such a different experience.

Wait a Week
Done with your shoot? Toss that memory card into a drawer for a week or two. You don’t get to see what they look like, remember? You have to wait for them to get developed. Hopefully not too many are blank.This comes with the added benefit of returning to your work with a new perspective and after a week or two you won’t be holding onto the same ideas of what your shots should look like.

Accept Failure
The whole point of this is to try to challenge yourself as a photographer. See what you can do with a tool that maybe isn't highly optimized for the conditions and subject you’re working with.
The fact of the matter is you're going to find yourself in a situation where the tool you have with you isn't optimized. We all know the Good Owls only show up when we leave the big telephoto lens at home. So practice your craft with tools that are sub optimal, commit to the constraints you laid out for yourself, and let us know what you found. Accept that many of the shots you take won’t work out and there’s only one solution.
Take more pictures.