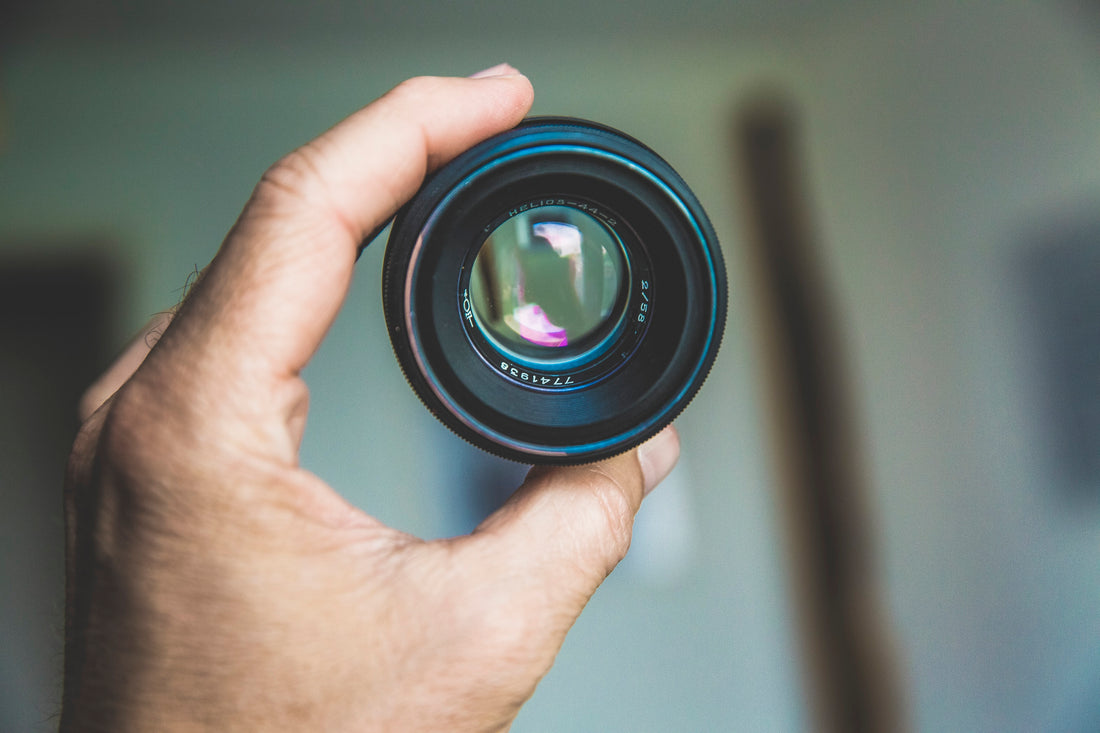
How to Clean a Lens
Share
Written by Daven Mathies
Our customers come in all the time asking us to show them how to properly clean a lens. That’s when we bunch up the bottom part of our shirtsleeve and… Just kidding! Getting that schmutz off of your lens is easy, if you’ve got the right stuff, and take the right steps. Let’s start with the stuff. Here’s what you’ll need:
1. A blower: I prefer the rubber bulb types because they deliver a gentle blast of air to get loose, gritty stuff off of the front and back elements. The Giottos Rocket Air Blaster is one of the best. It can also be used to clean light dust off your sensor—and, it never runs out of air.
2. A lens cleaning solution specifically formulated for optical glass: This is important, because using any old glass cleaner may get your lens clean, but it could also damage the sensitive coatings unique to camera lenses that ensure performance.
3. A good lens cloth: You often get these free with a new pair of glasses, then promptly LOSE the cloth. Lucky for you, we keep them in stock. I like microfiber because it absolutely will not scratch my lens, lasts for a long time, is washable, and always lint free. We also sell the one-use disposable tissues in tear-out form and pre-moistened in sealed packets.
Okay, now you have everything you need to do the job right. Normally, I begin at the rear element of this lens, but the order doesn’t really matter.
1. Blow air across the surface of the glass and mounting surface to loosen and remove any loose dust or debris. Give it two or three good blasts, look closely, and blast again if necessary. If you have a lens brush, lightly sweep away any remaining stuff. (See comment from Phil below for some clarification on rear-element cleaning.)
2. Now, take a close look at the glass surface. See that fingerprint from that last quick lens change you did? It’s time to remove the evidence. Spray or drop several drops of cleaning fluid on one corner of the lens cloth or tissue paper. Gently wipe the glass surface with the wet part of the cloth. When the lens looks clean, take a dry part of the cloth and polish off any remaining filmy stuff. It often works best to start in the center of the glass, and work your way out toward the edge in a circular pattern. Repeat as necessary.
3. If the lens is going back in the bag, put a rear cap on, and turn the lens over, and repeat the steps on the front element. Viola! You are done!
Before I let you go, here’s a couple of hard and fast rules about lens cleaning, and a couple of tips to help out in a pinch:
1. Never apply lens cleaning fluid directly onto any lens glass surface or mount. Why? Because if even a tiny drop of moisture seeps in beyond the seals, your lens could eventually become a very expensive terrarium. Mold may be interesting to look at, but it’s no fun to shoot through, and expensive to fix.
2. Never use toilet tissue, paper towels, or Kleenex to wipe a lens. Believe it or not, even supposedly soft paper is so rough it can leave tiny scratches on a lens surface, and some facial tissue has lotion in it. That’s fine for soothing the savage nose, but it’ll leave your lens looking like the Exxon Valdez paid it a visit. Even if you dodge those bullets, regular tissues will festoon your lens with hundreds of tiny fibers that can affect your shot. In a pinch, a cotton shirt sleeve (avoid the buttons, please!) or shirttail is a better option, but make sure it is clean and as lint-free as possible. Cotton swabs can also work, as well.
4. If you get some glop on your lens that won’t come off with any of the above, LEAVE IT! Let the experts at a lens repair facility have a go at it. If it is a small enough spot, go ahead and shoot with the lens and fix it in post, as they say.
5. Finally, the absolute best way to keep your lens spotless is to put a filter on the front element of all your lenses. That way, the dirt and scratches land on the filter rather than the lens. If a lens gets dropped, the glass has a much better chance of survival with a filter on it. A UV or clear filter will do the trick. If you fret about shooting through a filter, just remove it for the shot, and replace when done, but high end-end, multi-coated filters should have no apparent effect on your images in most situations.
When purchasing a filter, you get what you pay for. Better filters feature optical quality glass in a sturdy, flat mount. The best feature hardened glass with multiple coatings, and some have brass mounts which can hit the pocketbook pretty hard. Keep in mind that even the best of the best filters are less expensive than a high quality lens. It’s an insurance policy for your glass that can pay huge dividends.
There you have it! Simple steps to keep your lens sparkling clean, and ready to shoot when you are!
