Seasonally Spooky Portraits and Haunting Landscapes
October in the Pacific Northwest marks the start of leaves turning their annual shades of red, yellow, and orange. The long days of summer sunshine slowly become more scarce and the sun sets just around the end of the normal work day. You could be discouraged from taking portraits or photos of any kind under these circumstances, but we're here to let you know that spooky season arriving actually provides exciting opportunities!

Whether you’re using slow-shutter speed techniques to create possessed portraits or popping redscale film into your favorite film camera to create otherworldly landscapes, here are some samples and tips from our staff and customers to inspire your own spooky fall photography.

Slow-shutter Speed Portraiture
Using slow shutter speeds is a good way to make portraits that feel less real and more spiritual in nature. A major contributor to this is that you are no longer freezing one moment in time but rather combining multiple moments over a period of time into one image. This may create anonymity in your subject if there is only a little bit of movement or create a “ghostly” effect if there is only movement for a portion of the exposure time. Using shutter speeds of 1 second or more will allow you to capture the desired effect. Want anonymity? 1-5 seconds might be good. Want some ghostly movements? Try a 10-second exposure with your subject staying still in multiple poses throughout the 10 seconds.

Some tips for best results when trying this technique:
- Slower shutter speeds capture movement more easily, to make sure you’re only getting the movement or effect you want, use a tripod to reduce unnecessary or undesired camera shake.
- Slower shutter speeds mean your shutter is open longer and you can capture your subject multiple times in the same frame. Think about using an off-camera flash or strobe to solidify specific positions or movements during your exposure.
- Making a longer exposure means that the risk of overexposing your image is more possible. To reduce the amount of light being let in during this exposure period, shoot when the lighting is more subdued (like when it’s nearly dark outside) or use a neutral density filter to cut out some of the light hitting your sensor or film during the exposure period.

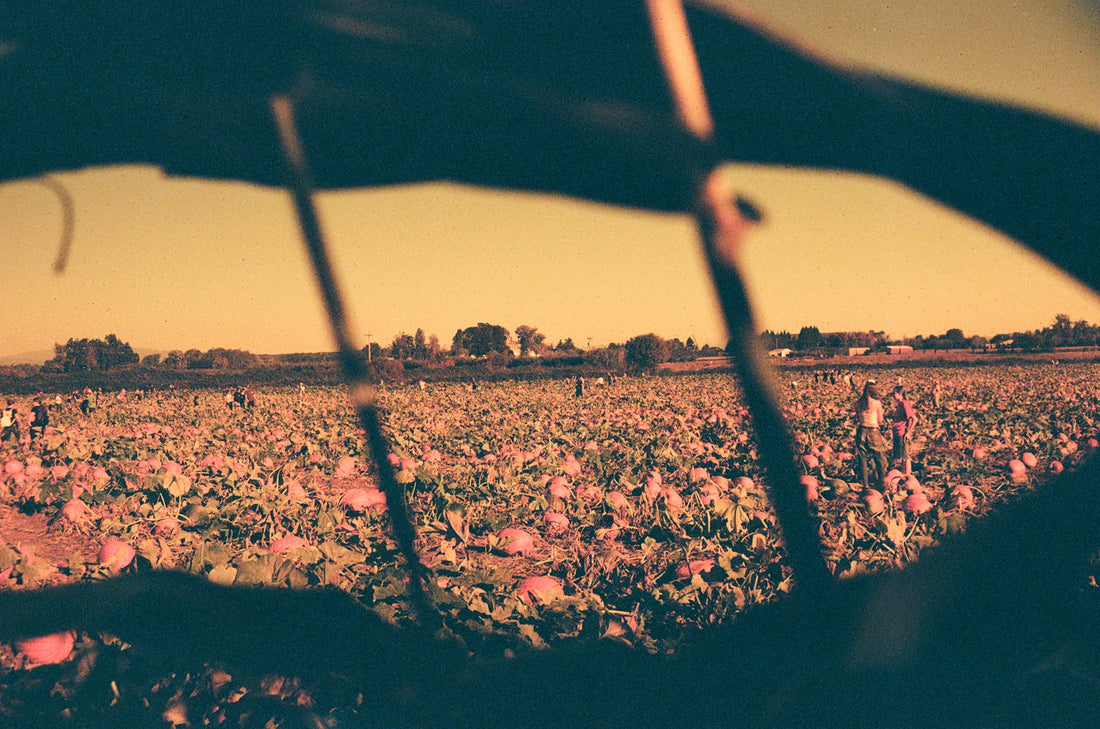
Redscale Film Photography
Redscale film photography creates images that look as though they were taken on the surface of Mars. For those unfamiliar with redscale film, redscale is when color negative film is shot backward creating tones of yellow, orange, and of course, red.

Color negative film has a semi-transparent layer on the back, designed to keep stray light from getting onto the sensitive emulsion on the front. When you wind a roll of it backward and shoot through this protective layer, the result is close to shooting through a red or orange filter. But unlike a filter, the effect is a bit unpredictable and varies in strength depending on the subject and light source. Turning your image into a combination of red, orange, and yellow tones will certainly give it an otherworldly feel, and coupled with certain subject matters, it will lend itself well to spooky or sinister imagery.
This spooky season we created 13 limited edition bundles if you want to try out shooting redscale without needing your own film camera!


Images provided by Haley Miller, Tommy Spencer, Juliana Goldman, Mick Koontz, Lara Lenore, Reyn Hiskey, and James Umber.

